Setup Guide
Prerequisites
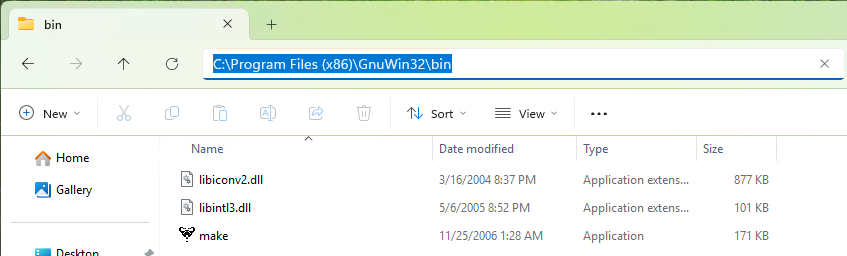
The prerequisites include both tools/programs and the server files.
| Name | Link |
|---|---|
| lunar-tear-main.zip | Github server repo |
| lunar_tear_patcher.ipynb | Gitlab scripts repo |
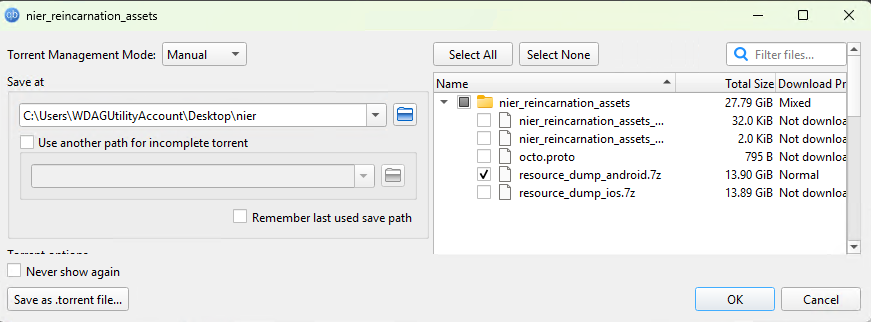
| resource_dump_android.7z | Archive.org torrent file |
| NieR Re[in]carnation 3.7.1.apk | Pixel Drain or Torrent |
| 20240404193219.bin.e | Mega Link |
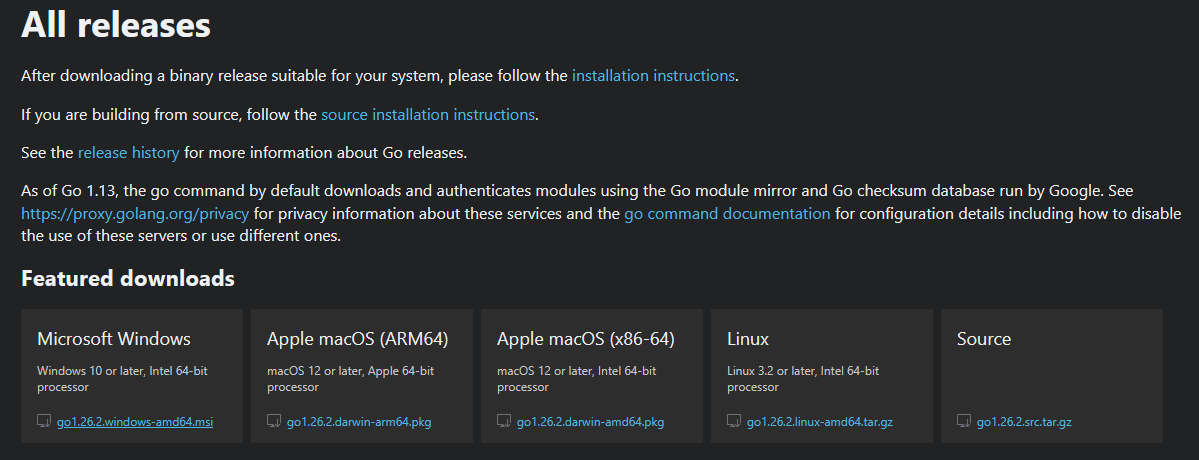
| Go 1.25+ | go.dev |
| Protoc | Github protoc repo |
| Make | Make |
Tip
To extract .zip and .7z I recommend Winrar or 7zip. To download the torrent file I recommend qBittorrent.
Warning
If you downloaded the APK from the APK Pure link, re-download it with the new links.
Folder Structure
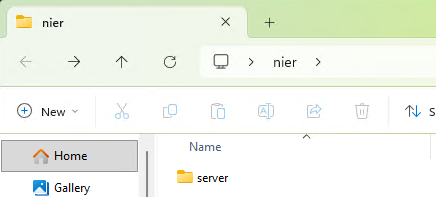
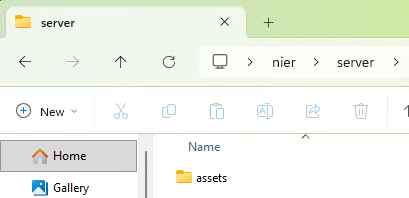
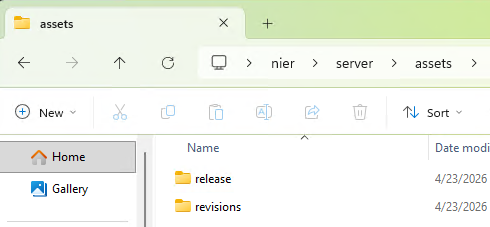
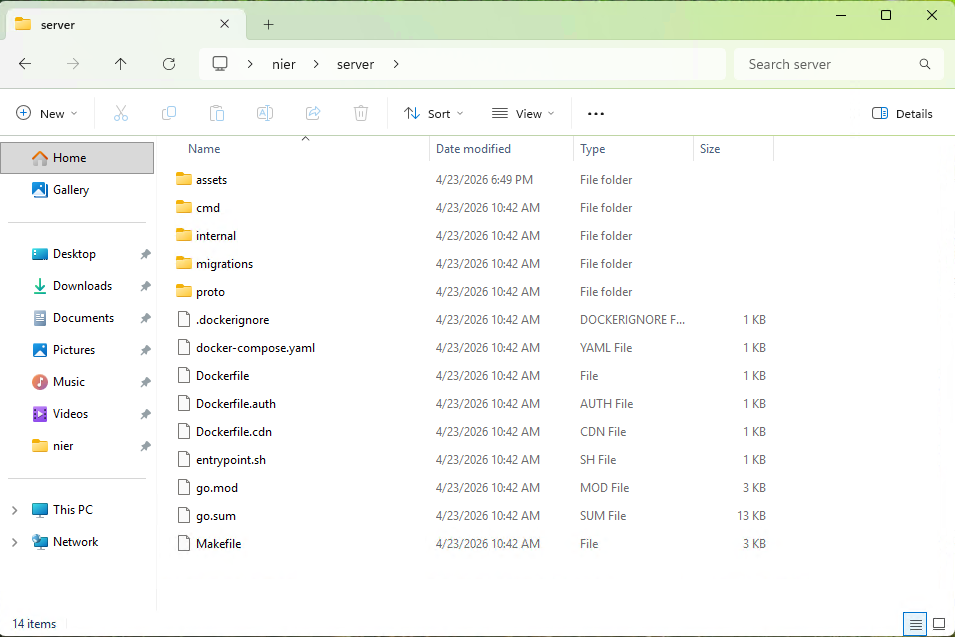
The folder structure doesn't include most files since they come together with the .zip files. Everything will be explained together with pictures.
nier/                     # The root folder of the guide.
    server/               # Server repo (https://github.com/Walter-Sparrow/lunar-tear)
        assets/
            release/
            revisions/
        cmd/
        internal/
        migrations/
        proto/
20240404193219.bin.e
NieR Re[in]carnation 3.7.1.apk
lunar_tear_patcher.ipynb  # Scripts repo (https://gitlab.com/walter-sparrow-group/lunar-scripts)
resource_dump_android.7z
Step 1 - Download the Prerequisites
1.1 - Download lunar-tear-main.zip from the server repo.
1.2 - Download lunar_tear_patcher.ipynb from the scripts repo.
1.3 - Download resource_dump_android.7z with qBittorrent.
1.4 - Download NieR Re[in]carnation 3.7.1.apk.
1.5 - Download 20240404193219.bin.e.

1.6 - Download go1.26.2.windows-amd64.msi from the official website.
1.7 - Download protoc-35.0-rc-1-win64.zip from the Github Protoc Repo.

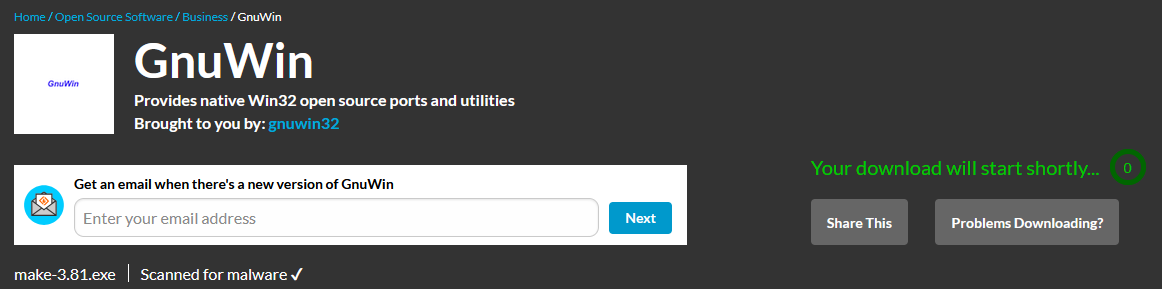
1.8 - Download make-3.81.exe from the official website.
Step 2 - Adding to Path
2.1 - Go
2.1.1 - Open go1.26.2.windows-amd64.msi and install it by pressing Next. Go should automatically add itself to Path.

Note
If the go command doesn't work after installing. Check this page.
2.2 - Protoc
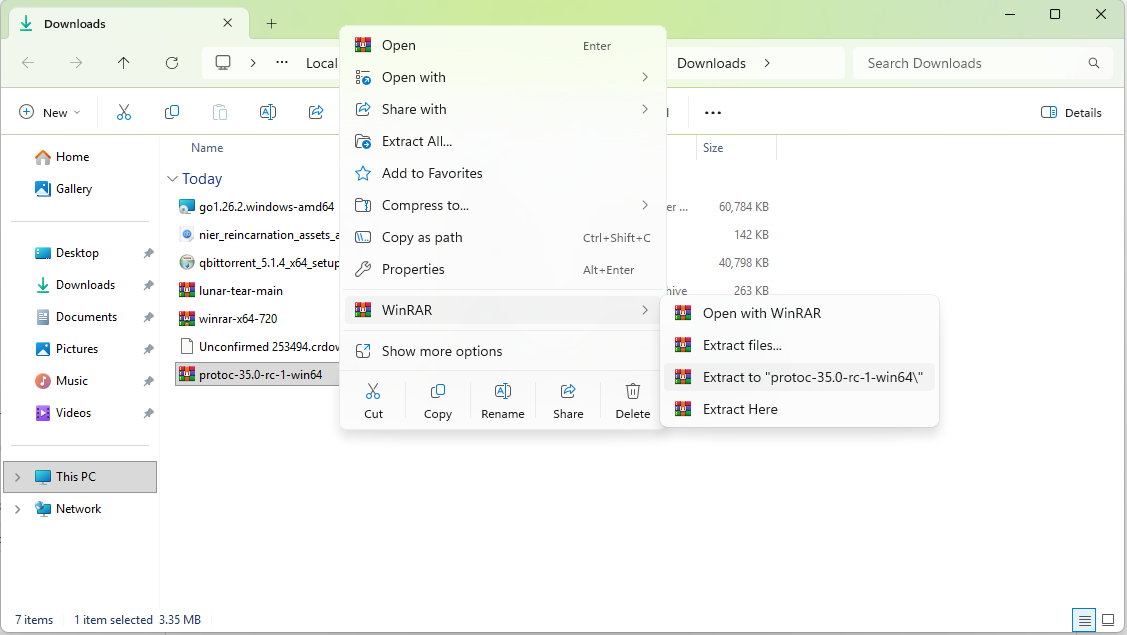
2.2.1 - Extract protoc-35.0-rc-1-win64.zip
Tip
Extract the files to a safe location, so you don't delete them accidentally later.
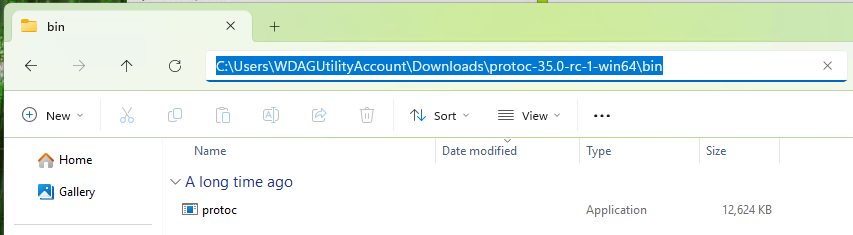
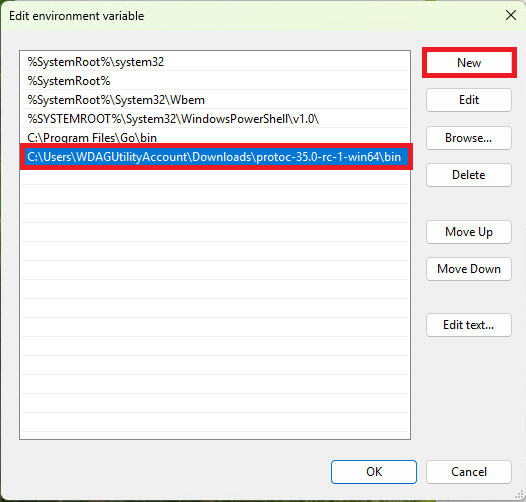
2.2.2 - Navigate to protoc-35.0-rc-1-win64\bin and copy the location.
2.2.3 - Open the Settings App. Select System>About and Advanced System Settings.
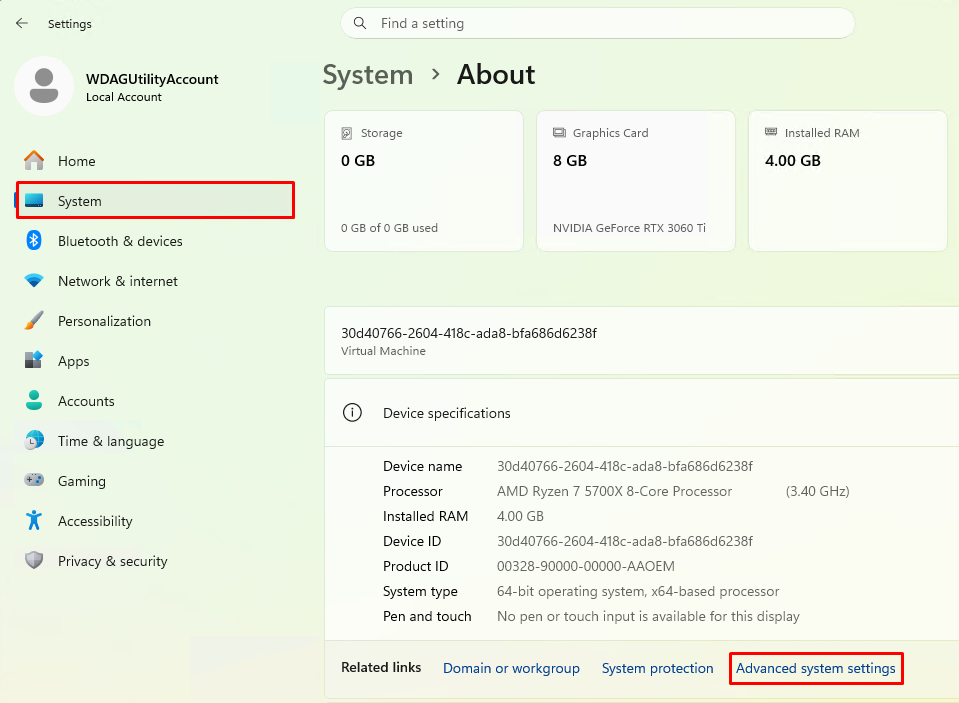
2.2.4 - Press the Environment Variables button. Next double click on Path.
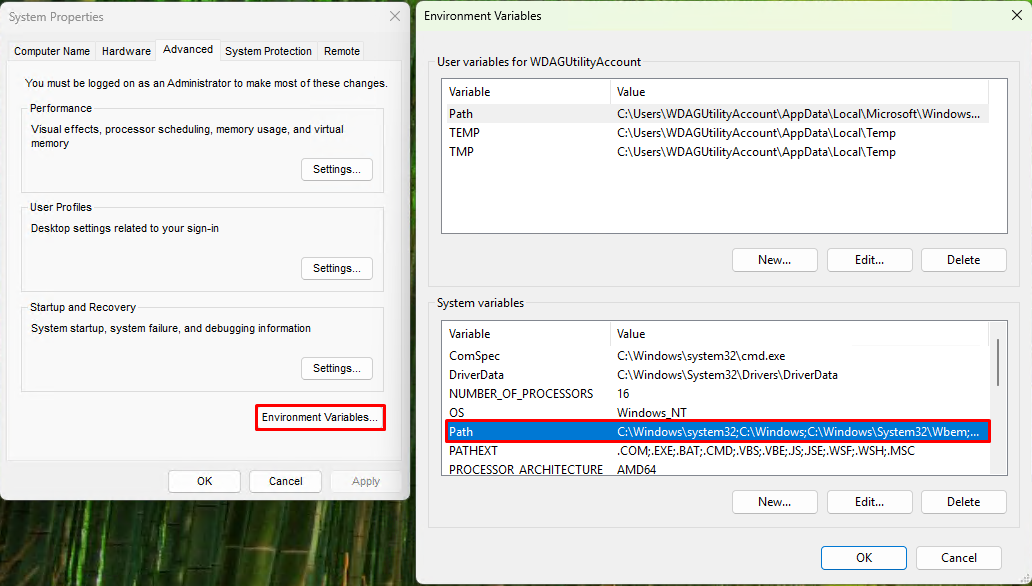
2.2.5 - Press the New button and paste the location from 2.2.2. Don't close the window yet.
2.3 - Make
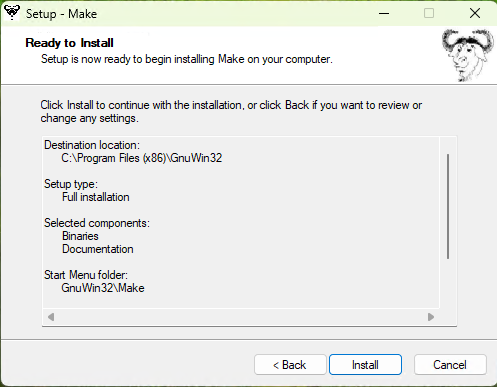
2.3.1 - Open make-3.81.exe and install it by pressing Next.
2.3.2 - Navigate to C:\Program Files (x86)\GnuWin32\bin and copy the location.
2.3.3 - Go back to the window we oppened on 2.2.5 and do the same with the location.
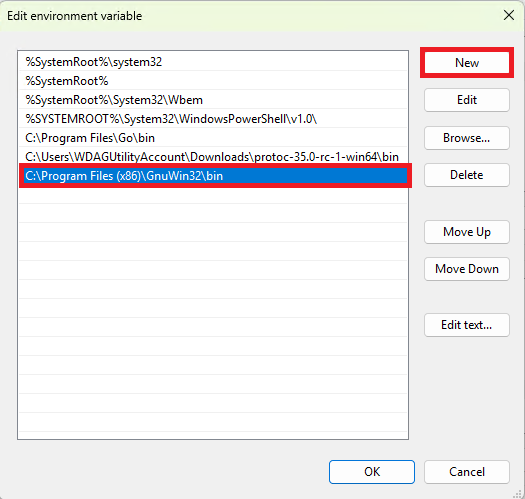
You can now press Ok in the various windows to apply the Path.
2.4 - Checking if everything worked
Note
If you have theCommand Prompt open, for any reason, close it and re-open it or the commands won't work.
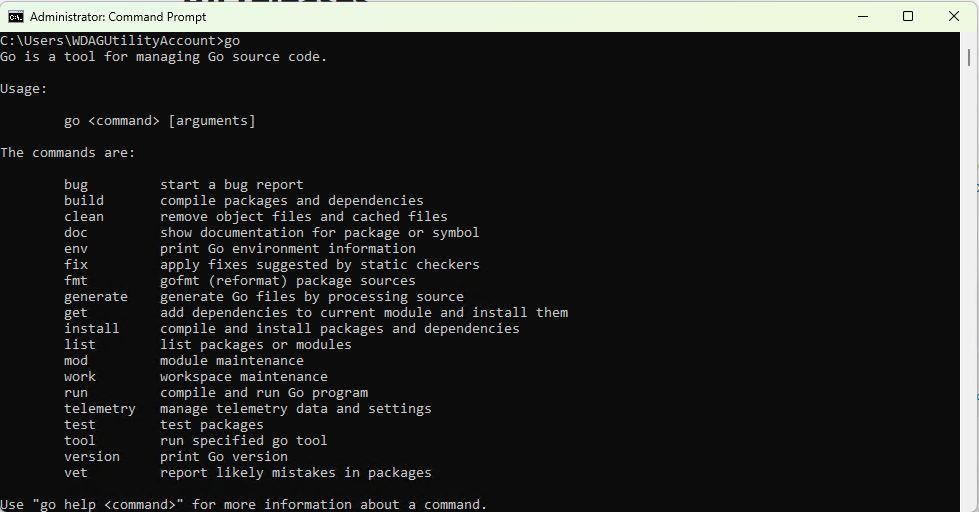
2.4.1 - Open the Command Prompt, type go and press enter.
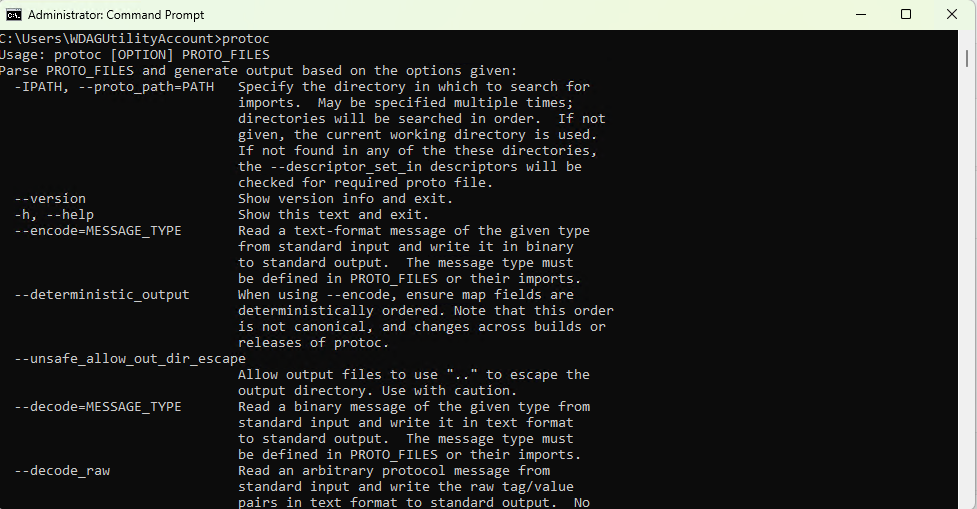
2.4.2 - Next type protoc and press enter.
2.4.3 - Lastly type make and press enter.
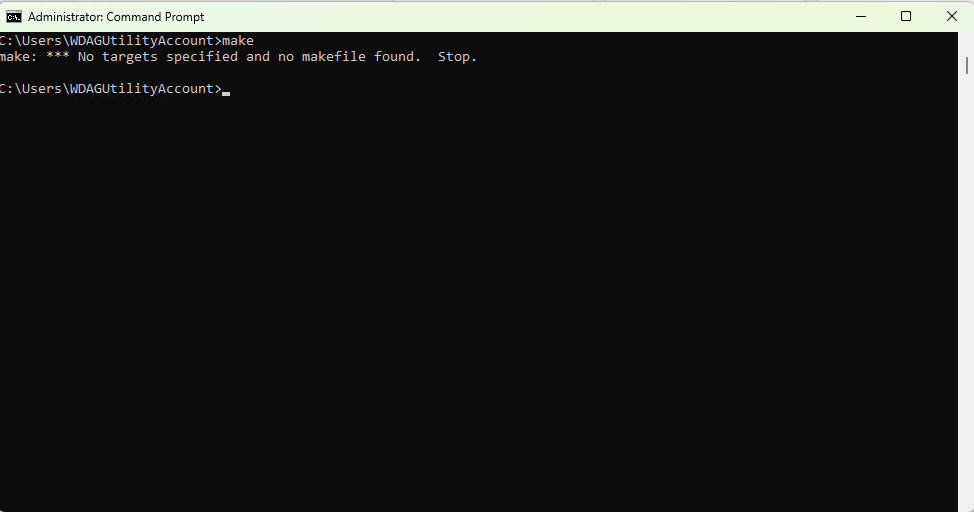
If all the 3 commands showed up like in the images above, everything is good to go.
Step 3 - Setup the Server Folder
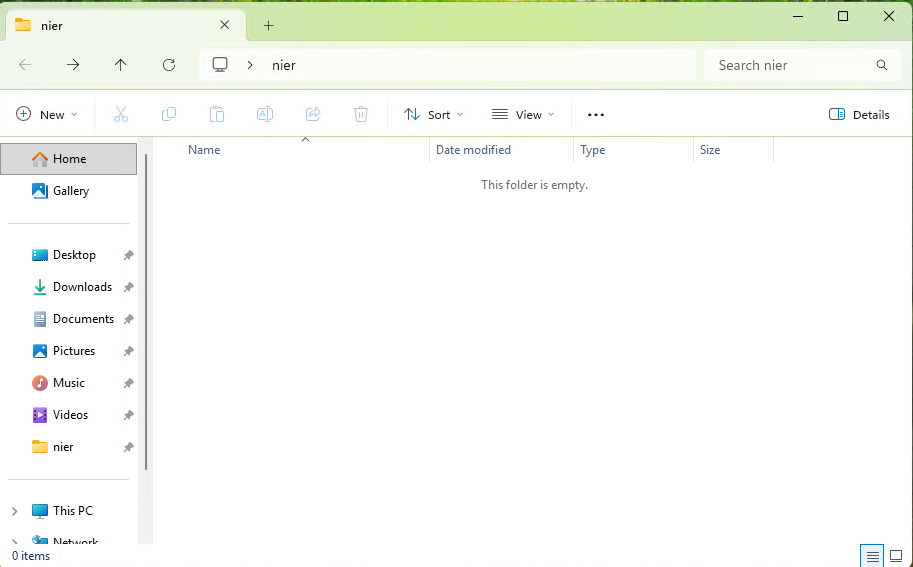
3.1 - Create a folder named nier
Note
After you create the nier folder, move 20240404193219.bin.e, resource_dump_android.7z, NieR Re[in]carnation 3.7.1.apk and lunar_tear_patcher.ipynb to it.
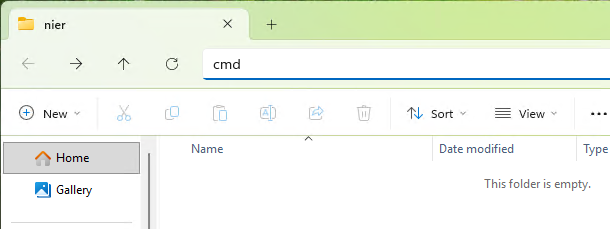
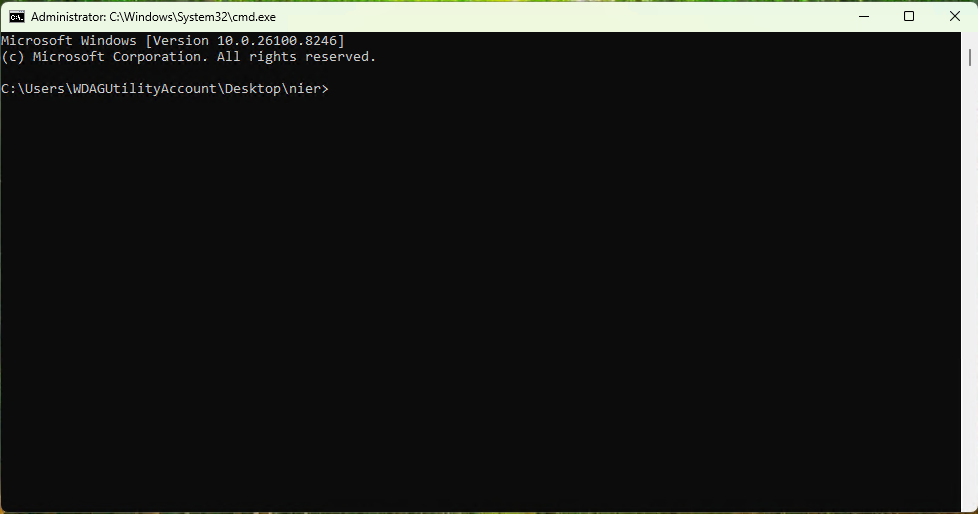
3.2 - Open the Command Prompt in the nier folder. To do this type cmd like in the image. Don't close the Command Prompt.
3.3 - Copy the commands bellow, one by one, to create the necessary folders. Or you can do it manually.
3.4 - Open the lunar-tear-main.zip and extract the server folder to the nier folder.

3.5 - Go to the nier\server\assets\revisions folder. After that open resource_dump_android.7z\revisions and extract the folder 0. This will take some time.

Tip
Everything should be ready to go. If for some reason something fails, check the folder structure and give the guide another look.
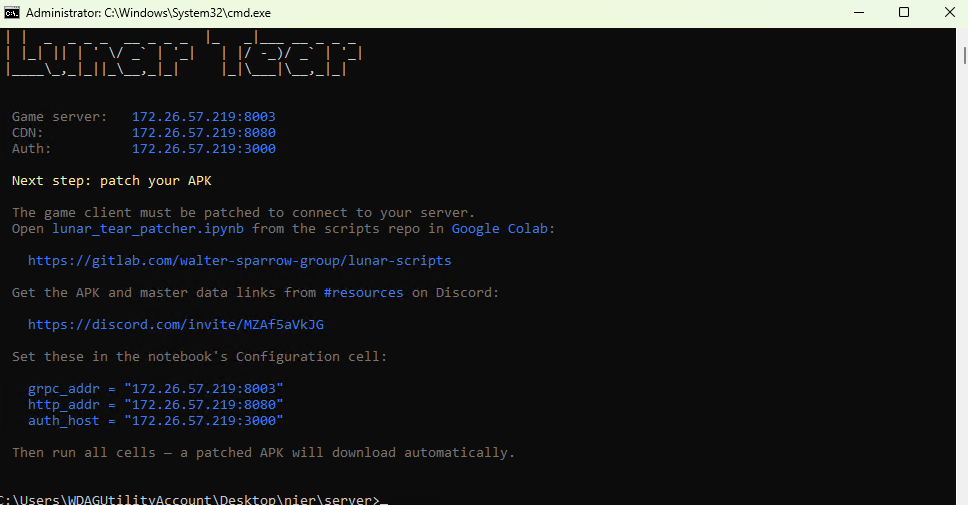
Step 4 - Getting your IP
4.1 - Go back to the Command Prompt in the nier folder we oppened on 3.2 and enter the following commands one at the time.
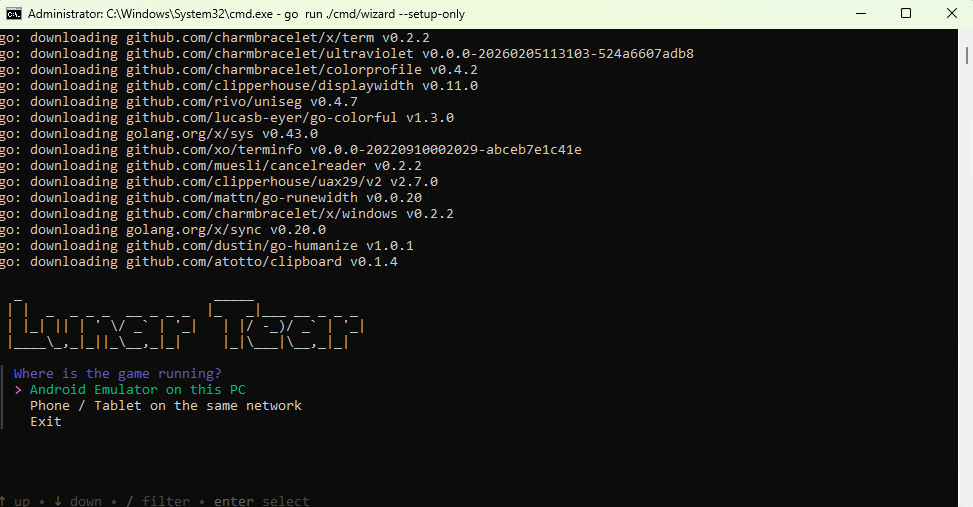
4.1.1 - Android Emulator
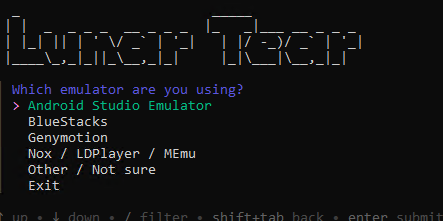
Select the android emulator you are using. If you don't know choose the Other / Not Sure option.
4.1.2 - Phone / Tablet
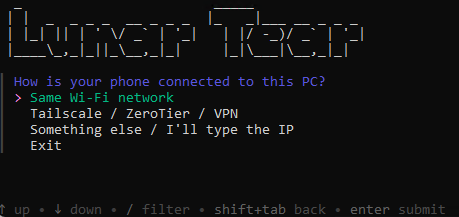
Chose whatever option you intend to use.
Note
If you choose the first option Same Wi-Fi Network, remember to use a static IP adress or the IP could change between sessions.
4.2 - After choosing the option, the program will auto detect your IP adress. Press enter.
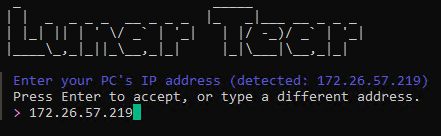
Note
Your IP address will be different from the one shown in the images. Use the IP address that appears in your Command Prompt.
grpc_addr = "xxx.xxx.xxx.xxx:8003"
http_addr = "xxx.xxx.xxx.xxx:8080"
auth_host = "xxx.xxx.xxx.xxx:3000"
You can either copy and paste directly from the Command Prompt or save the IP in a Notebook file on your computer.
Step 5 - Patching with Google Colab
Note
You must have a Google account to use Google Drive and Google Colab.
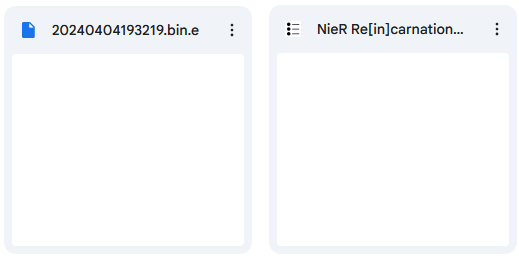
5.1 - Upload 20240404193219.bin.e and NieR Re[in]carnation 3.7.1.apk to the root folder of your Google Drive.
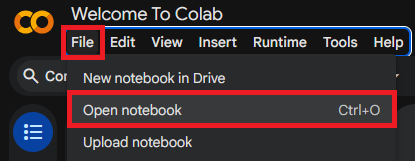
5.2 - Open the Website Google Colab and Open lunar_tear_patcher.ipynb.
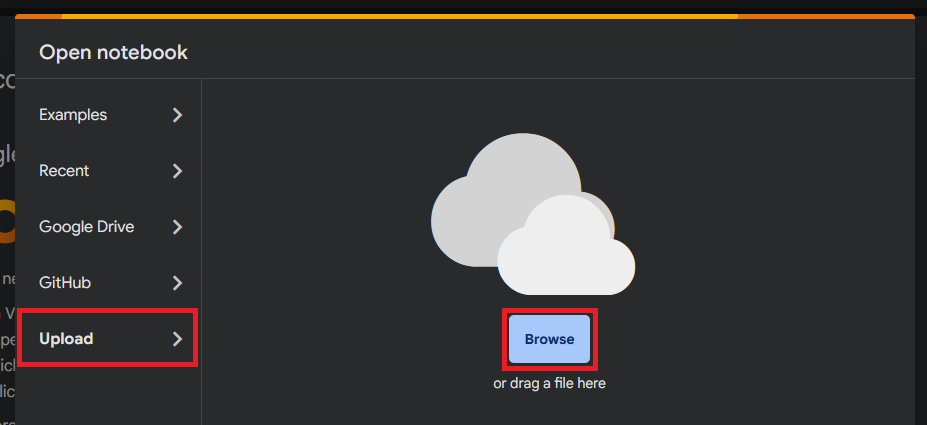
If you are already logged in, this window should pop-up. If not use the next image.
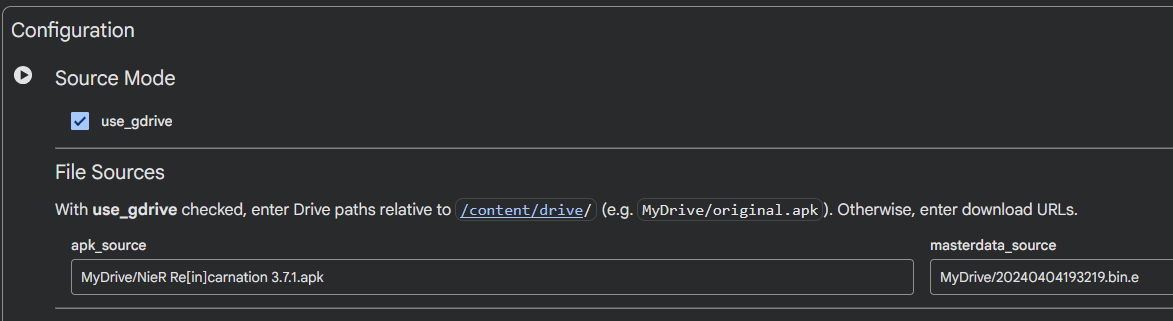
5.3 - File Sources
Copy and paste the first command in the apk_source and the second command in the masterdata_source.
5.4 - Server IPs
Note
Remember to use your own IPs. Not the ones in the images.
grpc_addr = "xxx.xxx.xxx.xxx:8003"
http_addr = "xxx.xxx.xxx.xxx:8080"
auth_host = "xxx.xxx.xxx.xxx:3000"
Copy each IP to the corresponding field.

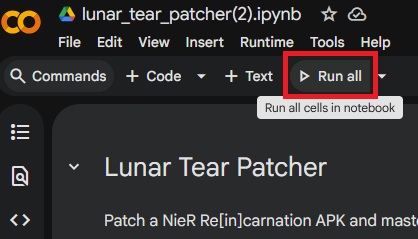
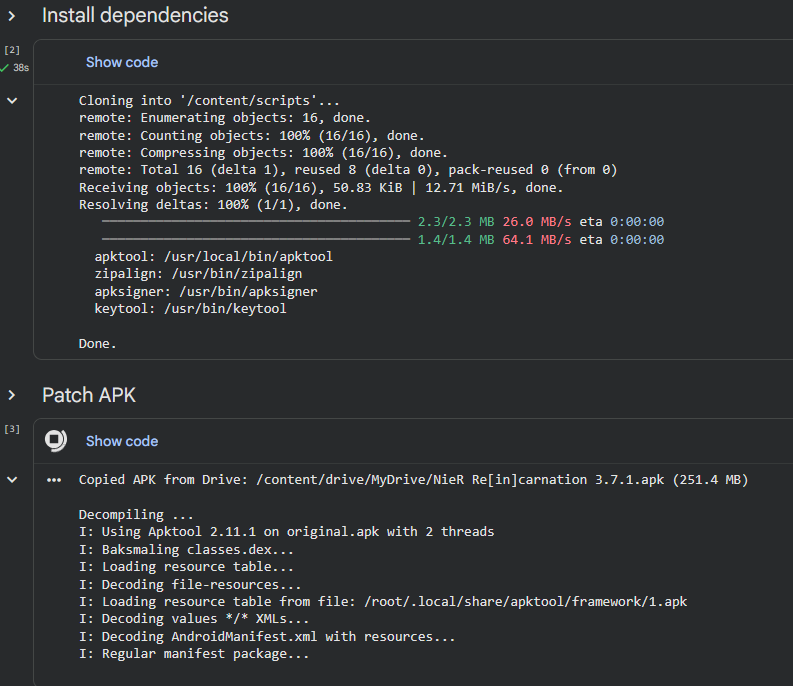
5.5 - Run the Patch
Press the Run all button.
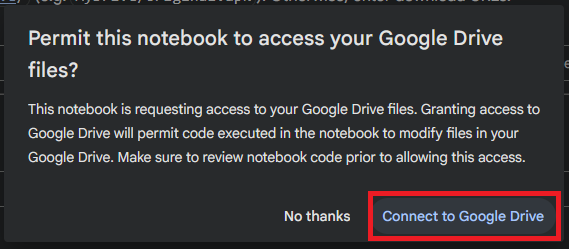
Allow access to your Google Drive and let the patch run.
When the patching ends a new folder will appear in your drive named lunar-tear-output. Open the folder and download both files.
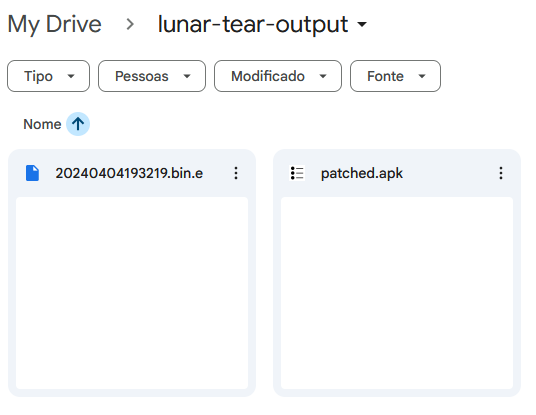
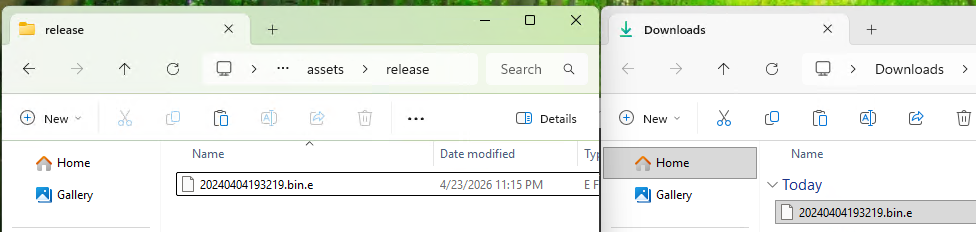
5.6 - The new 20240404193219.bin.e
Copy the new 20240404193219.bin.e to nier\server\assets\release.
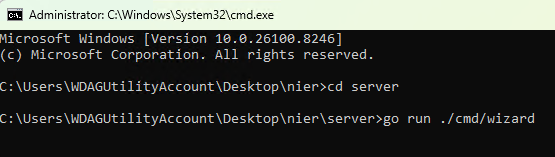
6 - Running the Server
6.1 - Open the Command Prompt in the nier folder again and run the commands below.
The wizard will download and install dependencies.
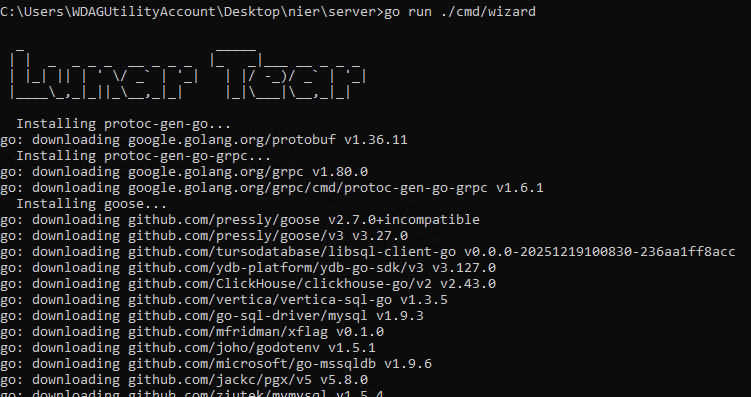
When it ends, a prompt will appear. Select Yes.

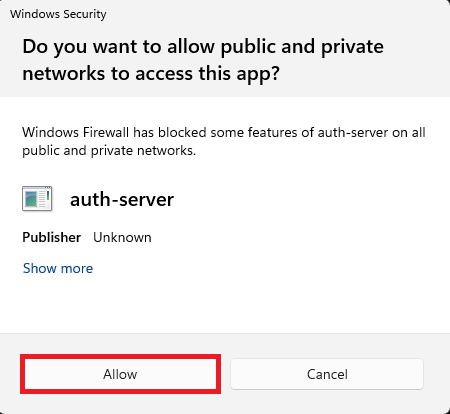
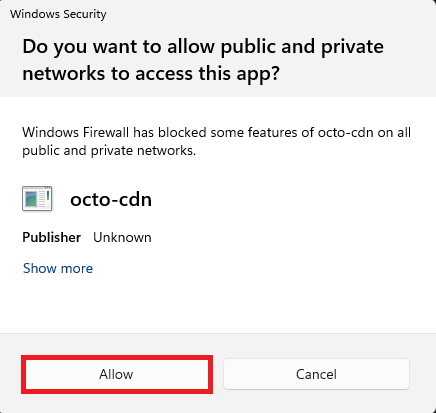
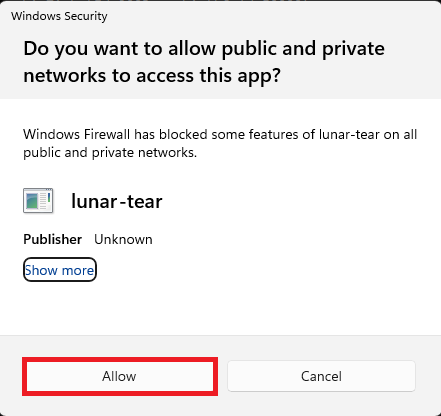
After that 3 windows will appear. Allow access to all of them.
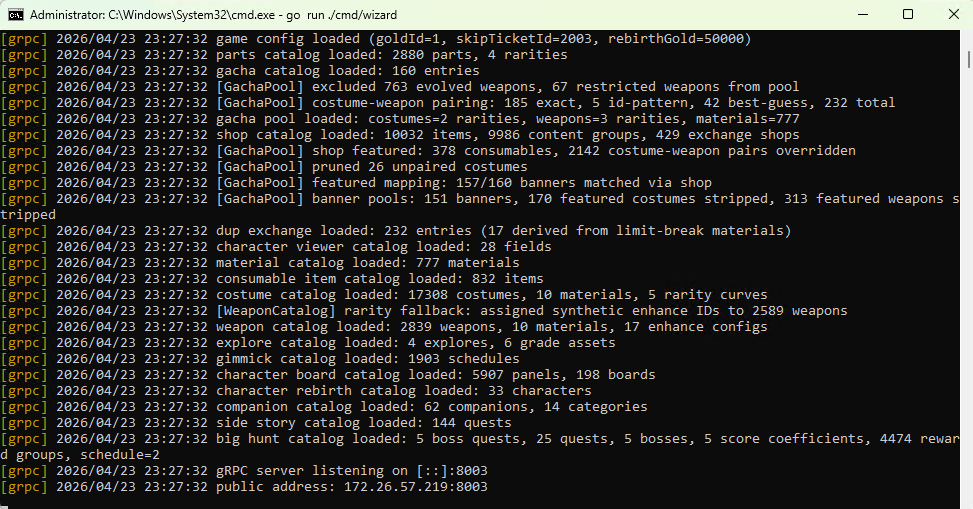
6.2 - The Server is now working!
Tip
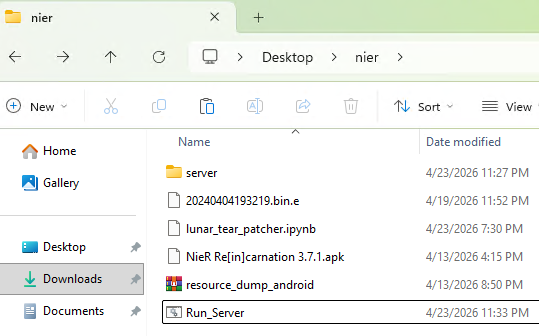
You can create a .bat file in the nier folder to run the server. Just copy the commands in 6.1 to a text file and save as Run_Server.bat
7 - Installing the Game
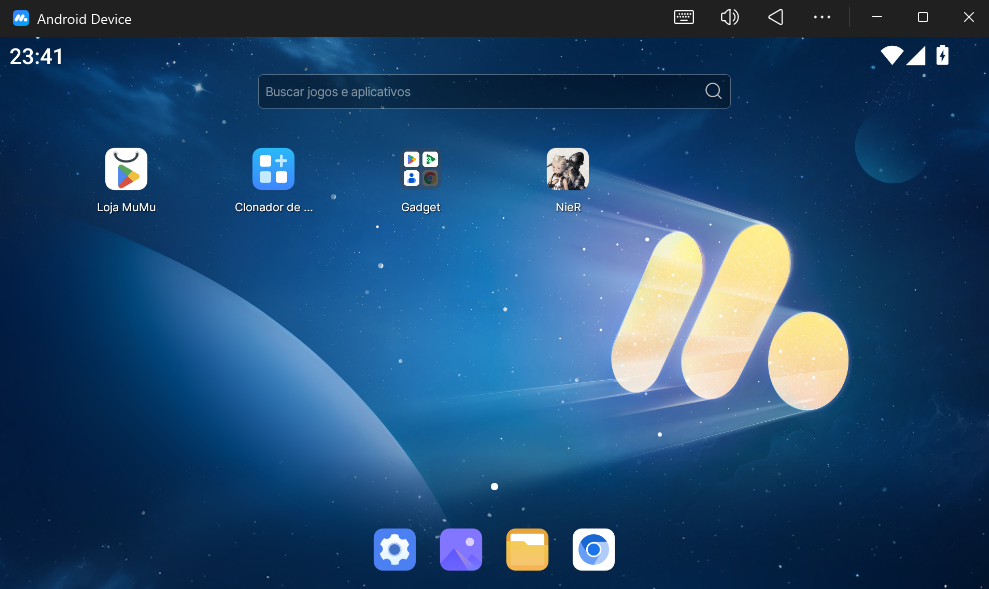
7.1 - Open your android emulator or grab your phone/tablet. And drag and drop patched.apk
7.2 - Open the game and Tap Start!
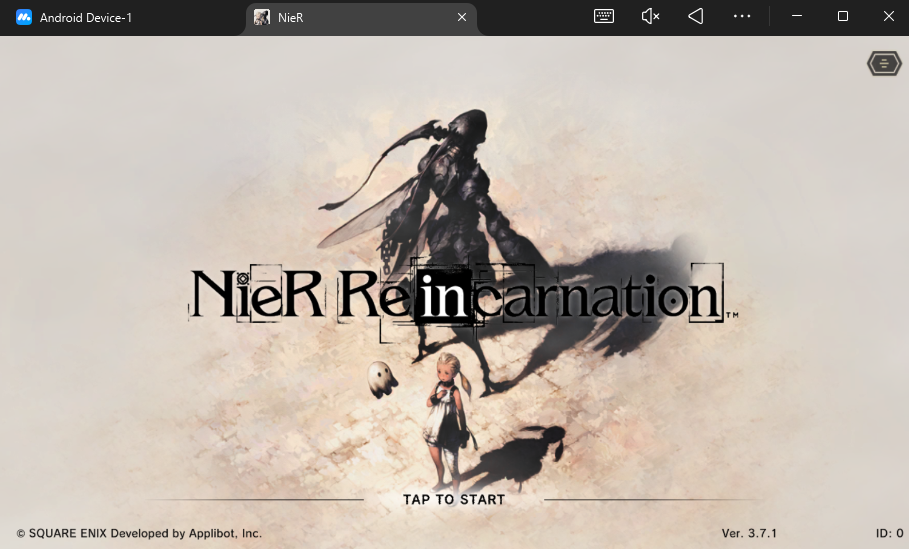
If this screen appears, congratulations, everything is working and you can start playing!
7.3 - Creating and Linking your account
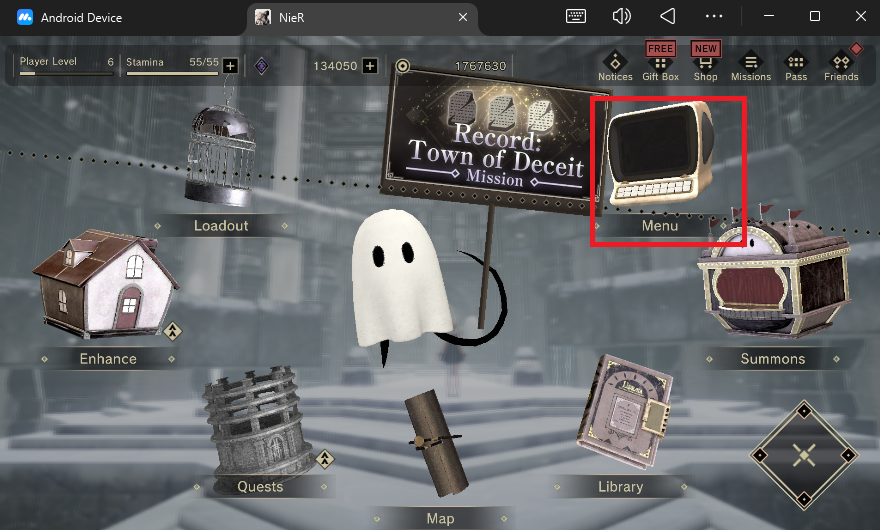
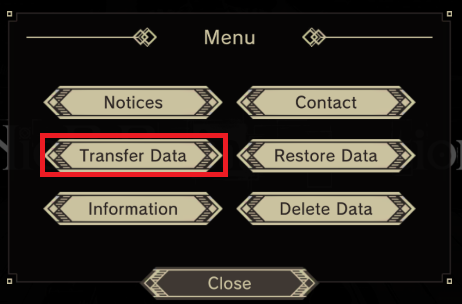
7.3.1 - Select the Menu option.
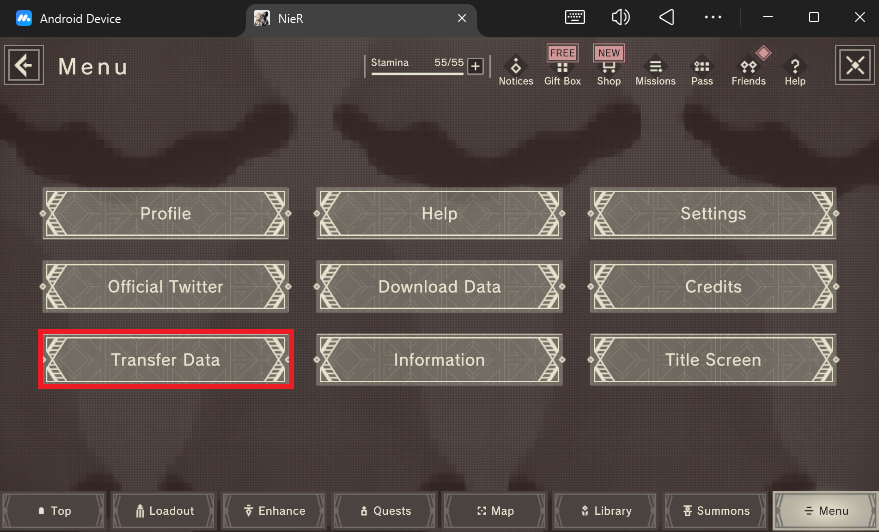
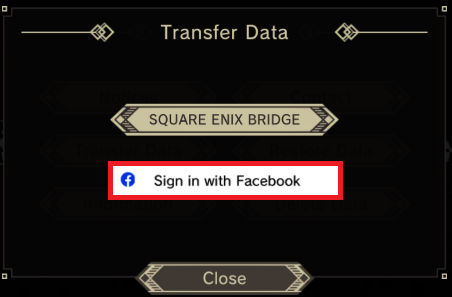
7.3.2 - Select the Transfer Data option.
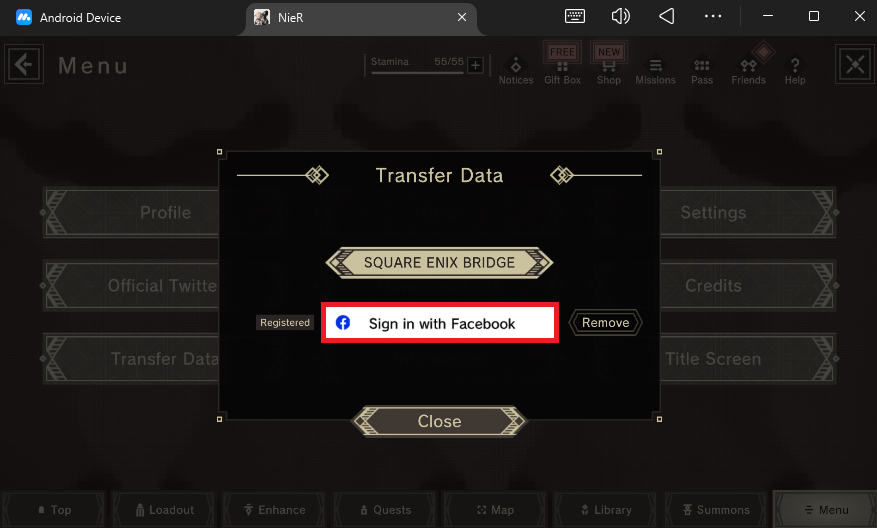
7.3.3 - Select the Facebook sign in.
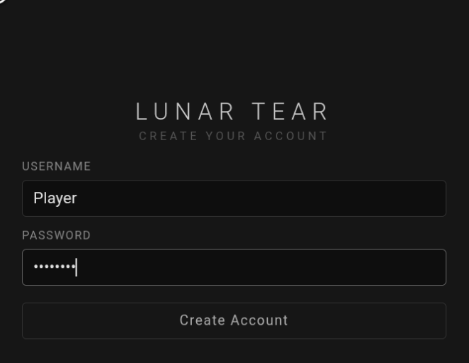
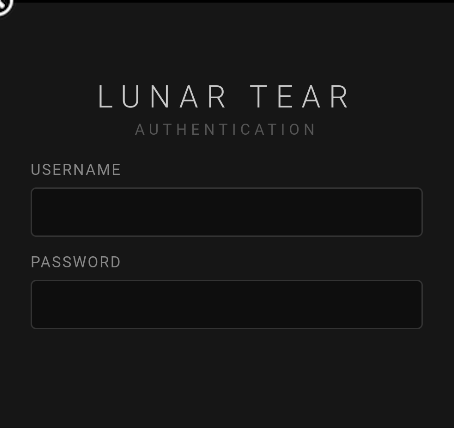
7.3.4 - Choose an username and a password to create your account.
7.4 - Linking account to a new device
Note
Before you can log in to your account you must clear app data in the android settings.
7.4.1 - On the tittle screen press the button in the upper-right corner.
7.4.2 - Choose the Transfer Data option.
7.4.3 - Press the Facebook button.
7.4.4 - And sign in with your account.
Note
Everytime you want to switch device you must transfer data. The game doesn't allow multiple devices.
Success
Your server is now fully functional, so you can start enjoying the game! Have fun!
8 - Next Steps (Optional)
Now that you have a server up and running, you may want to play with friends or other people. To do so, you will need to set up a Static IP address and Port Forwarding.
Check the Static IP page to learn what to do next.